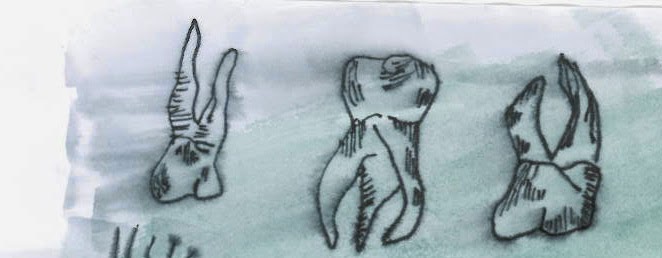
^Here is the scanned image.
Then by opening this onto photoshop, I cropped the image into small individual sections. This was because I wanted to use each drawing separately in my zine. Below are some examples of what I mean.
These three designs come up most in my zine as I felt they worked the best with the male, dark vibe I wanted. But also in the illustrations booklet, when I make them bright coloured etc, they will look very bizarre.
So then from this I opened them into illustrator. Here is a step by step of how I made parts of my designs from the above drawings :
Firstly I created a second layer, once I had opened my image onto the white page. You create the layer so you can delete the original image behind the drawings - this obviously is then your new image. For all my drawings I used a black 3pt pencil brush, so that all my illustrations would be the same thickness - I chose a thicker pen because it created the bold dark effect I wanted within my zine.
Below you can see what the image looks like with the layer taken away, from that you can then copy all the line and drag into indesign. This is what I did when placing it into my zine and illustration booklet.
Here's the process with another image- it's the same for everything.
Not only this though, I also created my own illustrations from my own photographs, images, online sources and even my new images of the models. With these it was the same process, however they were a lot trickier due to the amount of detail, but due to the fact there was so much detail, I was able to pick and chose what I wanted to add into the design. So with this, I kept them pretty simple because I liked the quirky effect that was created. Here's some examples :
The above image is the second process of making my illustrations. I did this in Adobe Photoshop, simply using the paint bucket tool. This image will be used in my booklet of illustrations. I made a concious decision to make the images bold like the one above because I felt that the zine would look to dark with all the blacks and greys and wouldn't 100 percent represent the males personalities, so this separate booklet with all the bright colours would be act as the second part of their personalities. I will be posting my other designs shortly...


No comments:
Post a Comment